Visma Sign
With GEST, you can also prepare contracts that can be signed electronically using the Visma Sign integration.
Signing is done with the Visma Sign program, which must be switched on. If you don't have your own account yet, check out the Visma Sign service here: www.vismasign.fi.
Currently, it is only possible to request one signature per document, so before sending the document, make sure that the other party to the agreement (the agreement creator), and any other parties, have added their signature to the document before sending it. You can add the signature as an image, for example.
Visma Sign integration
After acquiring your own Visma Sign account, an integration is created between the user's account and GEST. With the help of integration, contracts are saved in your account.
From this link you can fill in the necessary information. If you need help, Visma Sign and we will be happy to help.
Sending the contract for signature
When you send the contract for signature, first select the person or persons you want to send the contract to and then select Let's go from the menu Send a vismasign document for signing. Press Let's go.

If multiple documents have been created for a group of people, you can select the desired one from the drop-down menu. You can only send one (1) agreement for signature at a time.

After selecting the document and sending it, the recipient will receive an invitation to sign the contract in their e-mail.

Filing and grouping of contracts and documents
Agreements sent and signed in VismaSign will automatically go to the Documents page. This is an automatic setting (in GEST, called Root).
However, you can change the general automatic setting and, for example, specify that all agreements go into a specific folder instead of being on the Documents page as individual lines. If you want to group agreements for different groups of people into different themed folders, even by year, that is possible. The folder is defined in GEST, in the Settings section of each person form or group/band collection in the Management section.
Creating a folder in Visma Sign
Folders are created in the user's own Visma Sign account, on the Documents page. Folders are created here, after which they appear in GEST.

Name the new folder according to the theme you want. Create as many folders as you need.

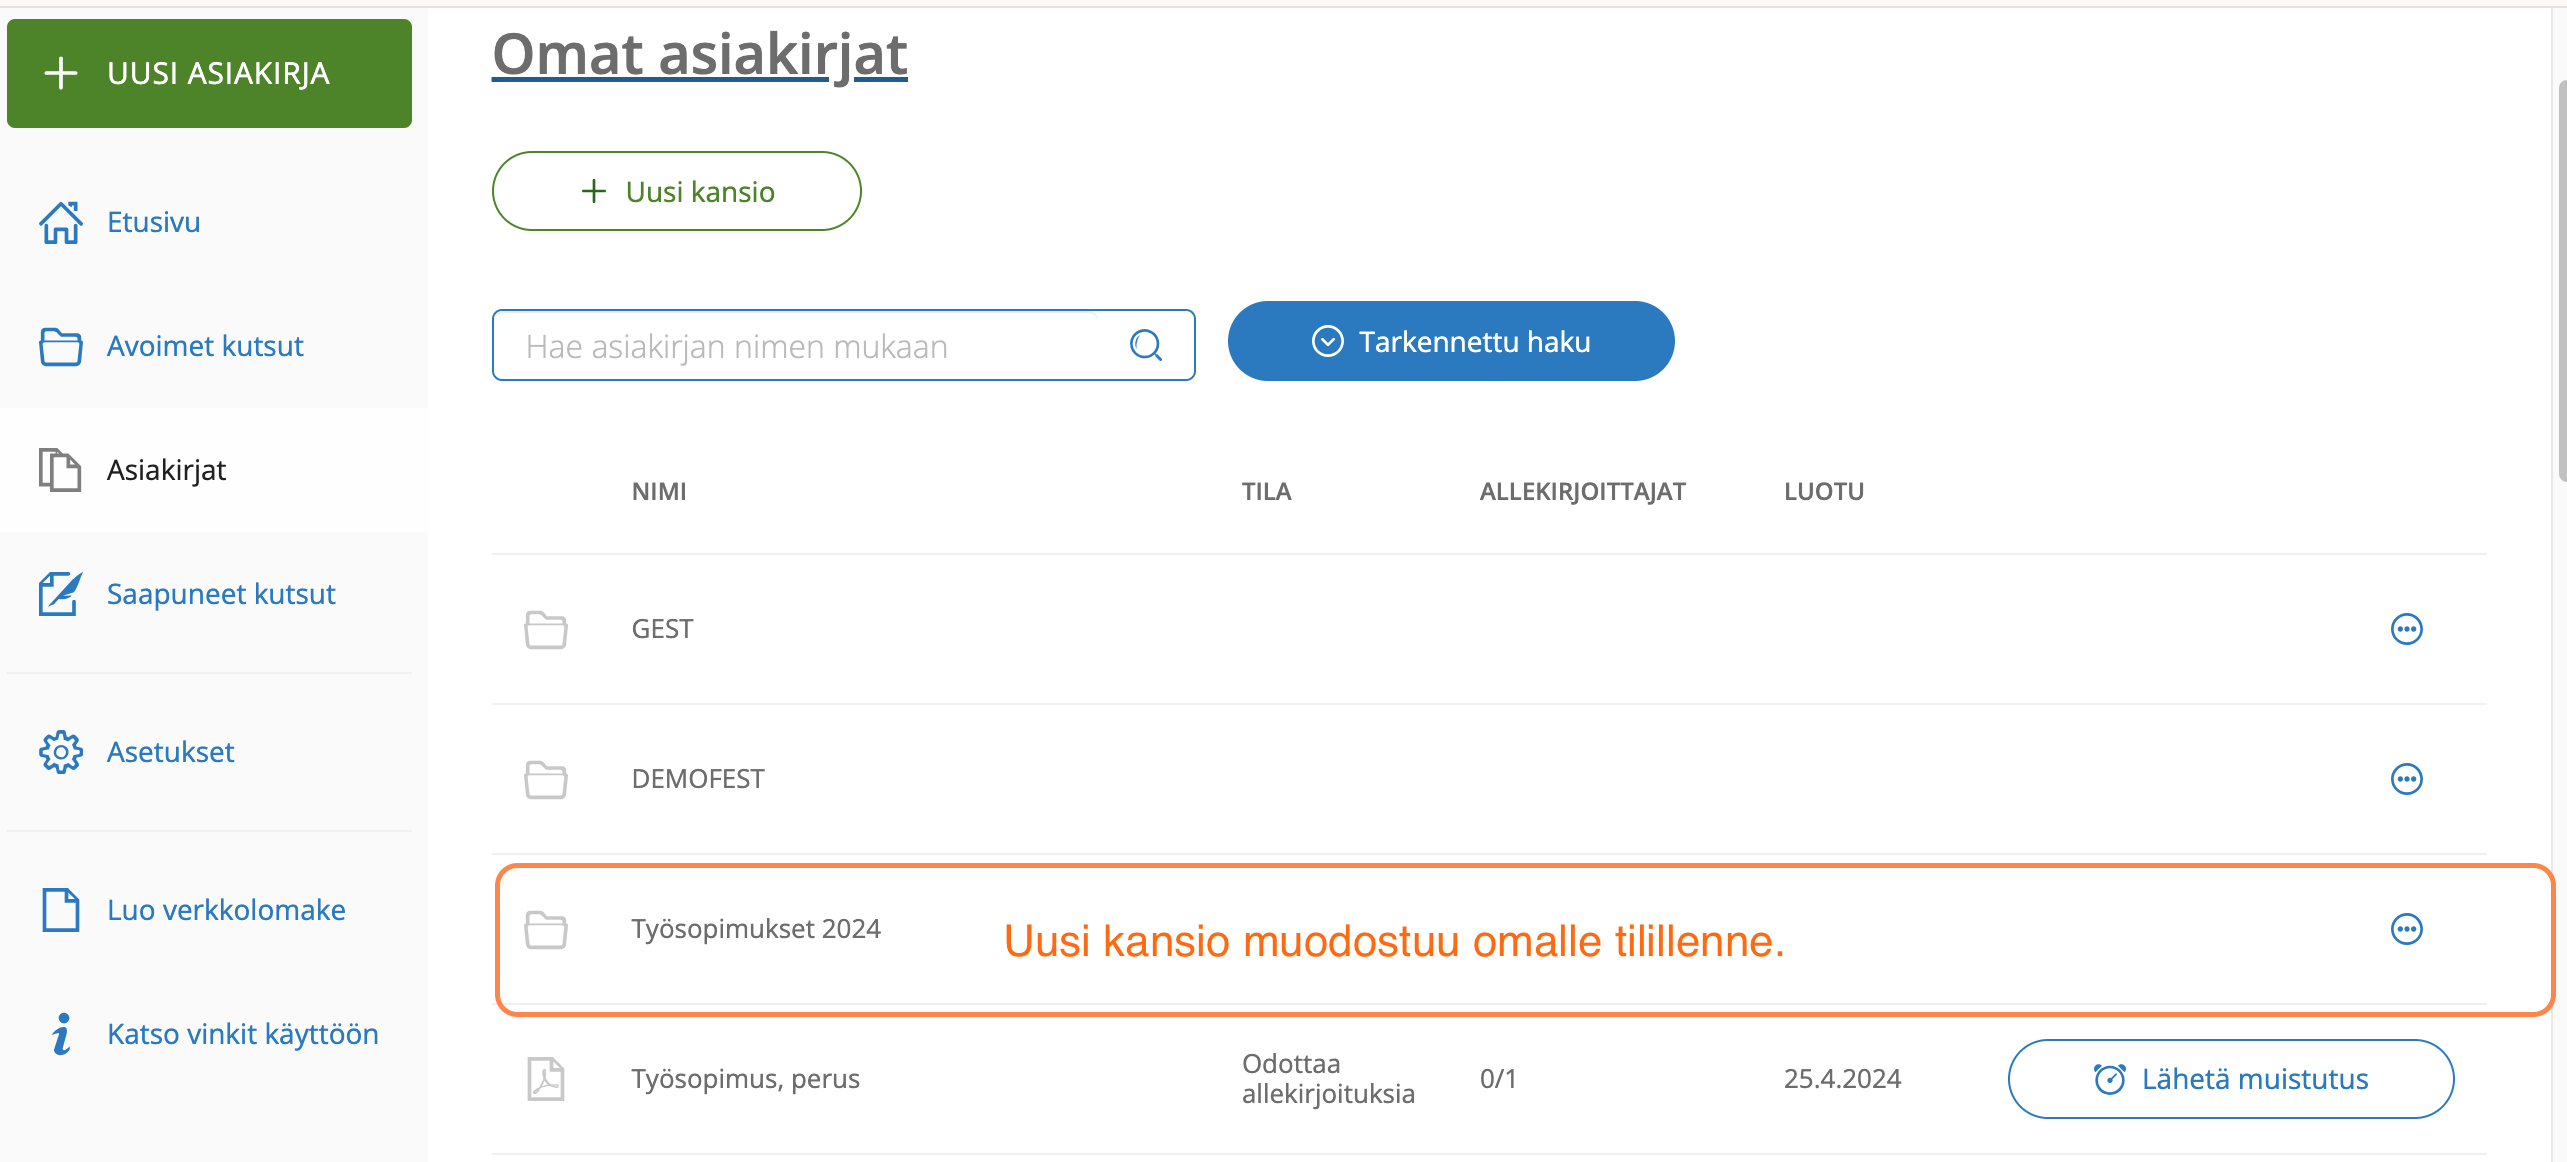
A new folder appears on the home page.
Selecting folders from GEST
You can choose a folder for each person group from the person group Management → Settings → Vismasign category.
The drop-down menu gives the first option of Root. By selecting this, the contracts are not foldered, but saved on the Document page line by line, as it has been until now.
If you have created contract folders in VismaSign, they will appear in the drop-down menu under the Root option. If you want the contracts of that group of people in the folder, choose one of the options you created. You can also create a new one if there is no suitable one.


Tracking contract signatures
You can follow the status of the contracts you have sent from GEST, information on personal forms and band/group collections, under Documents.

When the contract has been sent to Visma Sign, the column designated for it contains the sending time and text document created.

Checking the signature of the agreement must be done manually by pressing the Check status button. Press to find out the current situation. Note You must press the Check status button every time you want to check the status. The change will not appear automatically.
If the contract is still waiting for signature, it is written in orange in the column saying pending.

When the contract has been signed, the column reads in green signed.
