Table tool
The Production tool can be used to compile all event-related information in a table format. Venues and performers can be added to the table. It is useful for coordinating event area construction or stage schedules, for example.
The idea is to build, for example, construction, stage or area maintenance schedules, schedules, etc. in a table format and distribute them to essential people, from catering to the band's tour manager and from subcontractors to the stage manager.
Create a new collection by pressing collection at the end of the line with a + button. Name the template and select from the drop-down menu Production schedule collection template (Production).

Edit the fields on the form. The fields are filled with information for each area/stage/program and act as headers. The information is not filled in externally, but the producer adds the necessary information to the fields.

Creating a new Production template
A new spreadsheet template is created in the collection view by right-clicking Add new.
- Write the name of the base (area, stage, program).
- Set the production date. If you want, you can also set a time when the event doors will open to the public.
- Finally, you can supplement and follow-up on the additional information with information relevant to production, such as contact information.

Adding and editing table data
The page opens blank. The spreadsheet template has headings for each individual column. By default, the headings are related to the stage schedule, but all headings can be edited and changed to suit your needs.
You can add a new row to the schedule template by clicking on the + sign on the left edge.

When you want to complete the table data, click on the cell in the desired column.
After that, you can complete the information one by one. In addition to text, you can add links and files stored in GEST to the information, such as catering or technical raiders. You can add a file by clicking on the image of the chain and selecting a file uploaded to GEST. You can also enter schedule-related information in the cell, such as duration, time or interval. You can also change the text and background identification color to your liking.

The first column is different from the others: The first column can contain information about the performer or venue. Click on one of the cells in the first column. Select from Select a collection group mixed Collections the collection you want and the person/organization/place under it. When linking to information from other collections, do not enter anything in the "Name" field. Finally, press Save.

Once all rows and columns have been completed, it is easy to see the whole table at a glance. The finished table might look like this:

Sharing a table
- You can print the production schedule using the Print button.
- You can share production schedule information by creating a link and emailing it to the people you want.
Sharing a spreadsheet from the Print button
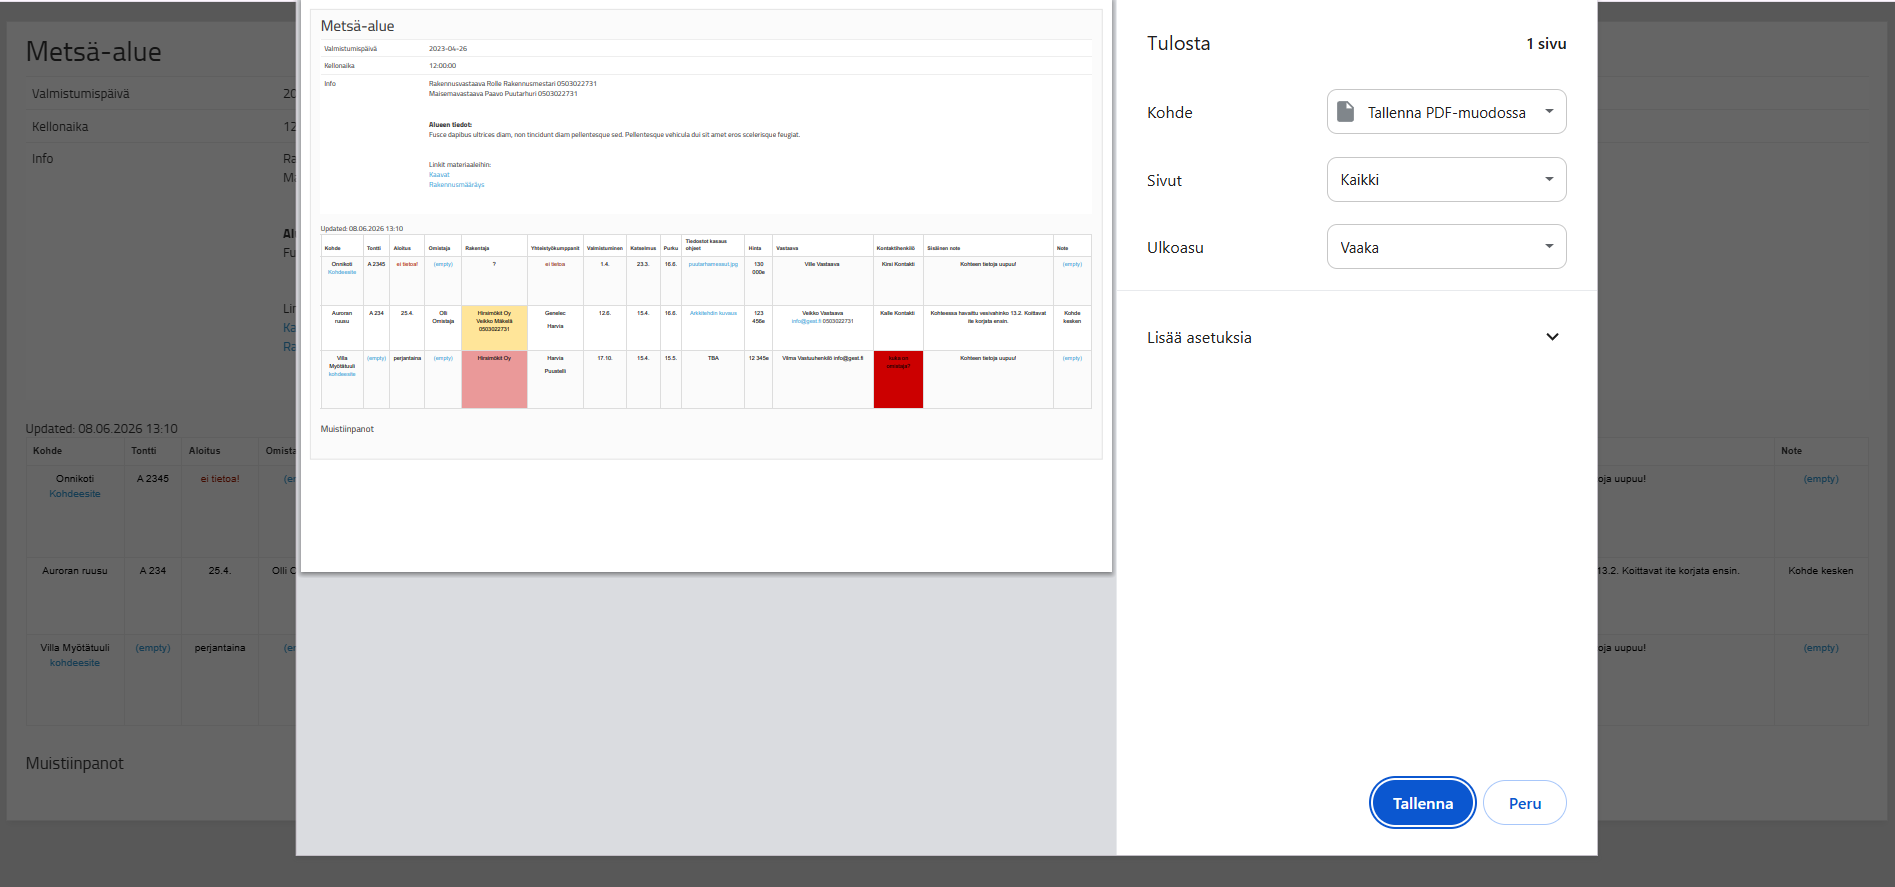
Press Print-button.
GEST creates from table page, which includes all the data in the table, including links and files. The page can also be print to PDF version through your own browser.

Sharing a spreadsheet with a link
Press the Share button.

After this, a blue dot will appear next to each row and column in the table. By clicking on the rows and columns you want, you can deselect them.
The options with a blue dot are information that you pass on. For example, for catering, essential information could be a schedule, catering raider, baker's number, etc.

If you want, you can record the table name Share name -towards.

Once you have selected the data you want and named the table, press Make a share link. The function creates a link that you can send to relevant people, e.g. by email.

 English
  Finnish